
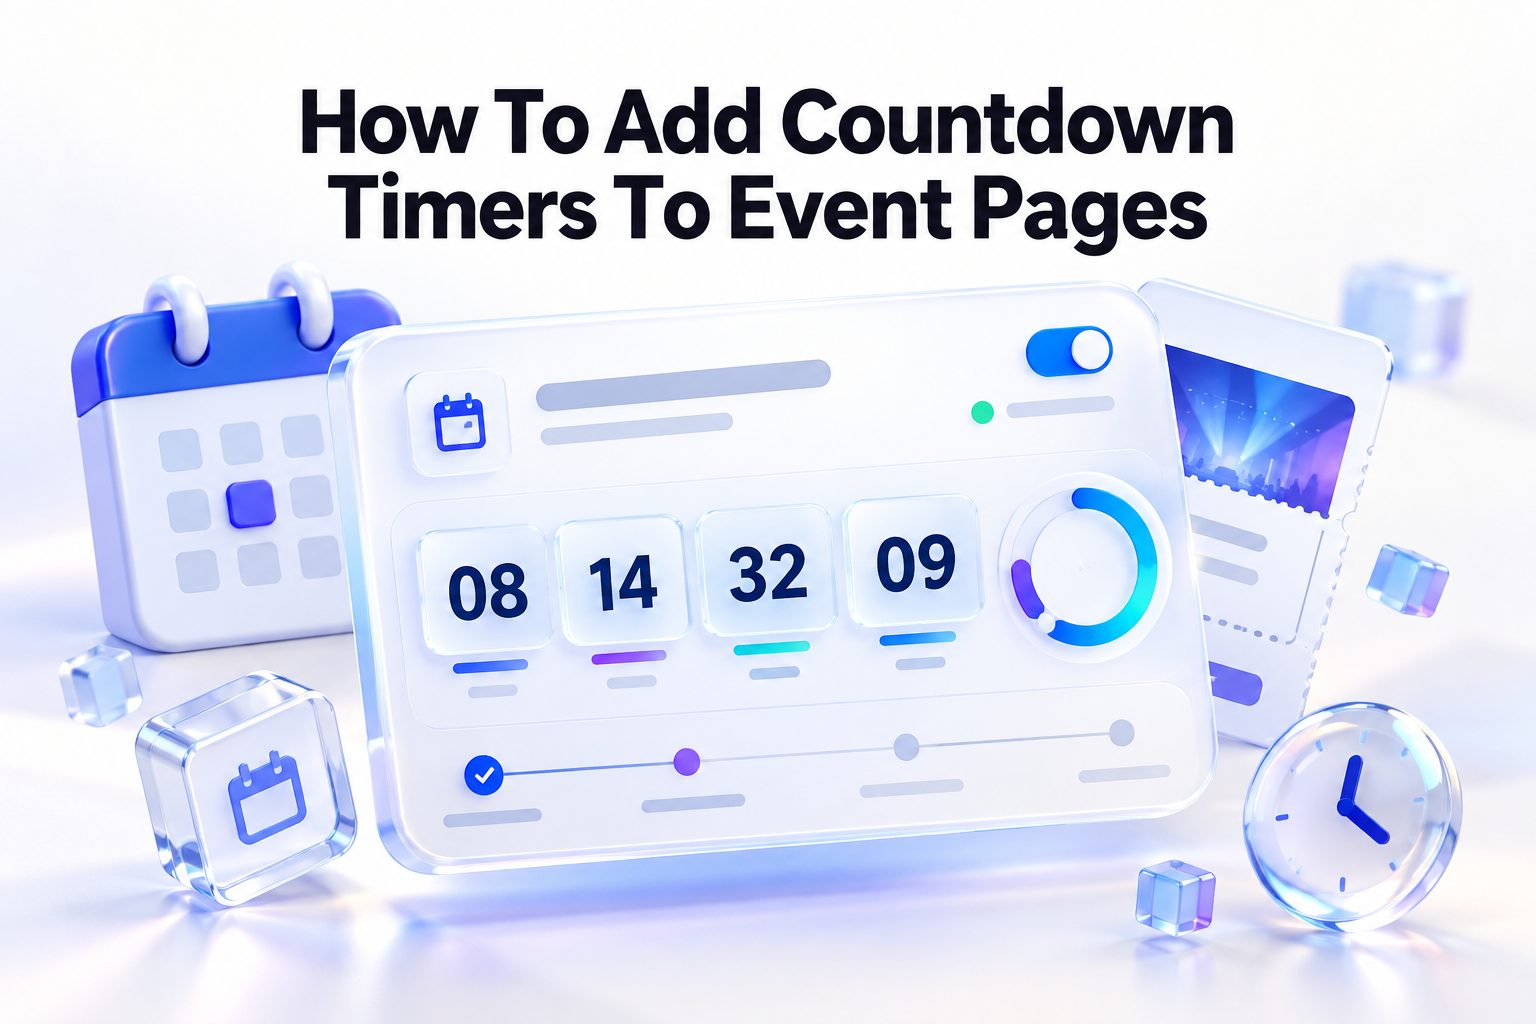
Selling out an event often comes down to timing and urgency. Visitors may love your speaker lineup or agenda, but they still delay buying tickets until the deadline feels real. That is why many marketers want to learn how to add countdown timers to event pages to turn passive interest into immediate action.
A countdown timer shows days, hours, and minutes left before registration closes or the live session begins. It creates a clear visual cue that time is limited. When placed well, it reduces hesitation, clarifies key dates, and gives visitors a reason to act now instead of later.
In this article, you will learn the best timer styles, ideal placements, setup methods, and design tips for conferences, webinars, workshops, and in-person meetups. You will also see practical examples that help you boost signups without sounding pushy or overwhelming your page design.
Why Countdown Timers Drive More Event Signups
A countdown timer works because it makes time visible. Instead of reading a date in small text, visitors see time slipping away in real time. That gentle pressure helps people prioritize your event over other tasks and commit to registering earlier in the promotion cycle.
Timers also improve clarity around deadlines. Early-bird pricing, seat limits, and closing dates can confuse visitors when shown as plain text. A live timer removes doubt by linking the offer directly to a specific moment, which builds trust and encourages faster decisions.
Selecting the Best Countdown Timer Format for Events
Fixed-date timers count down to a set day and time, such as a conference opening keynote. They work best for live webinars, product launches, and in-person gatherings where everyone shares the same schedule. Use this format when the start time is the same for all visitors.
Evergreen timers are personalized and start when a visitor lands on the page. They are useful for on-demand workshops, replay access, or limited bonus offers. Use them carefully for live events, since mismatched deadlines can cause confusion and reduce confidence in your brand.
Key Benefits of Event Countdown Timers
-
- Creates urgency that encourages faster ticket purchases and signups
- Highlights early-bird deadlines, price increases, and seat limits clearly
- Improves focus by directing attention to the main call to action
- Reduces last-minute confusion about dates, time zones, and closing times
- Increases return visits as people check remaining time before registering
- Supports promotions across email, ads, and social media with consistent messaging
Planning Timer Placement for Maximum Event Visibility
Place your timer where visitors cannot miss it, usually near the headline and registration button. When the date, value proposition, and countdown appear together, people understand the offer faster. Avoid burying the timer in the footer or below long text blocks.
Repeat the timer strategically on long pages. Add a compact version in a sticky header or before each pricing section. This keeps urgency visible while scrolling without disrupting reading flow. Make sure the design stays consistent across all placements on the page.
Above the Fold Placement That Supports Ticket Sales
The area above the fold gets the most attention, so feature the timer next to your event title and date. Include location, format, and a strong call to action nearby. This combination answers the key questions immediately and guides first-time visitors toward registration.
Keep the above-the-fold layout clean and focused. Use enough white space around the timer so numbers are easy to read on mobile. Test headline length and button color to ensure the timer supports the message rather than competing with other page elements.
Sticky Headers That Keep Urgency Visible While Scrolling
Sticky headers are ideal for long event pages with agendas, speakers, and FAQs. A slim bar with days left and a Register Now button reminds visitors of the deadline as they explore details. It works especially well during the final week before ticket sales close.
Make the sticky bar dismissible and lightweight. Visitors should be able to close it if they want an unobstructed view. Check our detailed write-up on event landing page best practices to pair sticky timers with clean navigation and strong social proof sections.
Event Countdown Launch Checklist
-
- Define the exact end time, time zone, and what happens at zero
- Choose fixed or evergreen timing based on your event format
- Match timer messaging to early-bird, regular, and last-call phases
- Place primary timer above the fold next to registration button
- Add secondary timer near pricing and final call to action
- Test mobile layout, loading speed, and screen reader readability
- Connect timer end action to closed registration or waitlist signup
Using Website Builders and Plugins to Add Timers
Most website builders include ready-made countdown blocks that require no coding. Platforms like WordPress, Wix, Squarespace, and Webflow let you drag a timer widget onto the page, set the date, and style the colors. This is the fastest option for small teams and solo organizers.
WordPress users can choose plugins such as Countdown Timer Ultimate, Ever Countdown, or Elementor countdown widgets. Look for options with time zone support, responsive design, and custom end actions. Always update plugins regularly and test them with your caching setup for accurate display.
Custom Code Methods for Flexible Timer Control
Custom JavaScript gives you full control over design and behavior. Developers often use lightweight scripts to calculate the difference between the current time and the event date. This method allows custom fonts, animations, progress bars, and actions when the countdown reaches zero.
Host the target date on your server or use UTC to avoid time zone errors. Store the date in ISO format and update the display every second. Add a fallback message for expired events, such as Join the Waitlist, so visitors always see a helpful next step instead of zeros.
Design Tips That Make Timers Clear and Persuasive
Use large, legible numbers with clear labels for days, hours, minutes, and seconds. High contrast between text and background improves readability, especially on mobile screens. Keep the style aligned with your event branding so the timer feels like a natural part of the page.
Pair the timer with short, action-focused copy. Phrases like Early-bird ends in, Registration closes in, or Live session starts in explain what the countdown means. Avoid vague wording, flashing effects, or overly aggressive colors that can distract from the registration button.
Matching Timer Style to Your Event Branding
Your timer should reflect the tone of your event. A tech conference can use bold numbers and dark backgrounds, while a wellness retreat may need soft colors and rounded corners. Consistent fonts, spacing, and icon styles help the timer blend smoothly with headlines and speaker sections.
Create separate styles for announcement, urgency, and final-call phases. You might start with neutral colors, then shift to a warmer accent as the deadline nears. Small visual changes signal increasing importance without requiring a full page redesign before launch.
Practical Tips for Higher Conversions With Timers
-
- Show the time zone clearly for virtual and hybrid events
- Link every timer to a visible registration or ticket button
- Use one main deadline per page to avoid confusing visitors
- Update headline copy as the event moves from early-bird to last call
- Add social proof near the timer, such as seats claimed or attendee count
- Test timer with slow connections to prevent layout shifts or delays
- Set an expiry redirect to a replay, waitlist, or next event page
Aligning Timers With Email and Ad Campaigns
Your event page should match the deadlines promised in emails and ads. If your newsletter says two days left for early pricing, the page timer must show the same cutoff. Consistent timing across channels builds credibility and prevents complaints from confused buyers.
Use UTM parameters to track which channels drive timer-driven conversions. Create dedicated page versions for major campaigns if deadlines differ by audience. Review performance weekly and adjust subject lines, ad copy, and page headlines to reflect the actual time remaining.
Time Zone Handling for Virtual and Global Events
Global events need crystal-clear time communication. Set the countdown to a single reference point using UTC, then display the local start time beside it. Mention the time zone abbreviation and provide a time converter link so international attendees can plan accurately for live sessions.
Test your setup with a VPN or by changing device time zones. Confirm the timer shows the same moment worldwide rather than shifting by visitor location. Clear handling prevents missed webinars, support tickets, and refund requests caused by simple scheduling misunderstandings. See our resource on virtual event promotion strategies for more timing and reminder examples.
Important Facts to Get Right Before Publishing
Fact one, browsers rely on visitor device time, so always validate against server time for critical deadlines. Fact two, daylight saving changes can shift live session times if not configured correctly. Fact three, expired timers should never show negative numbers or blank spaces to visitors.
Fact four, page speed affects timer accuracy on first load, so use lightweight scripts. Fact five, accessibility matters, so provide text alternatives for screen readers. Getting these technical details right protects trust and keeps the registration process smooth under heavy traffic.
Avoiding Common Countdown Timer Mistakes on Event Pages
One common mistake is using multiple timers with different deadlines on the same page. Visitors become skeptical when one block says three days left while another says sales end tonight. Stick to one primary deadline and support it with consistent copy throughout the page.
Another issue is fake urgency from timers that reset on refresh. Savvy visitors notice the trick quickly, and it can damage your reputation. Always use honest deadlines tied to real pricing changes or capacity limits. Authentic urgency performs better over the long term and supports repeat attendance.
Testing and Measuring Timer Performance Over Time
Run A/B tests on timer placement, size, color, and messaging. Compare a large hero timer against a sticky-bar version to see which drives more clicks. Test urgency copy as well, since Registration closes in may outperform Offer ends in depending on your audience and ticket type.
Track conversion rate, click-through rate, and time on page in analytics. Monitor drop-offs during the final 48 hours to identify friction in checkout. Use heatmaps to confirm visitors notice the timer, then refine surrounding headlines, proof elements, and button placement for steady improvement.
Conclusion
Countdown timers work best when they are accurate, visible, and tied to a real deadline. Choose the right format, place it near your main offer, match it with email campaigns, and test the design for mobile users. Small refinements in wording and layout can lead to meaningful gains in registrations and attendance. When planned carefully, learning how to add countdown timers to event pages becomes a reliable way to create honest urgency, reduce hesitation, and help more people take action before time runs out for your upcoming event.
Frequently Asked Questions
How Long Before an Event to Display a Countdown Timer
Start showing the timer four to six weeks before the event for early-bird sales. For webinars, seven to fourteen days is often enough. Adjust timing based on ticket volume, audience size, and promotion schedule for best results.
Best Placement for a Countdown Timer on Event Pages
Place the main timer above the fold near the headline and signup button. Add a compact sticky version for long pages. Repeat it near pricing and the final call to action to maintain visibility.
Fixed Versus Evergreen Timers for Live Events
Fixed timers suit live events with one shared start time. Evergreen timers fit on-demand replays or personalized bonus deadlines. Avoid evergreen timers for live sessions unless the offer logic is clearly explained.
How to Handle Time Zones in Event Countdowns
Set one UTC end time and show local equivalents beside the timer. Include the time zone abbreviation and a converter link. Test across devices to ensure consistent and accurate display worldwide.
What to Show After an Event Timer Expires
Replace the timer with a clear next step. Show registration closed, join waitlist, or watch replay messaging. Redirect visitors to upcoming events or related content to keep engagement strong.
0 Comments